Why Online Lessons?
Online lessons are a great way of receiving instructions from your music teacher. This way you can continue learning and preparing for exams or new songs from anywhere around the world.
Who will benefit?
Online lessons are best for students who have a solid ability to read notes or have a companion that can assist with corrections.
Can I switch between in-person and online lessons?
Absolutely! If you are in the area and your situation permits you to take the class in-person, we love to have you in the studio as long as the teacher is aware of your intentions. Speak to your teacher prior to showing up at your scheduled time.
How do I participate in online lessons?
Step 1: Download the Zoom conferencing client for your device.
- Apple iOS/iPadOS: https://itunes.apple.com/us/app/id546505307
- Apple Mac: https://zoom.us/client/latest/Zoom.pkg
- Android: https://play.google.com/store/apps/details?id=us.zoom.videomeetings
- Windows: https://zoom.us/client/latest/ZoomInstaller.exe
Step 2: Launch Zoom on your device, and change this option to enable “Original Sound”.
See this link for more details: https://support.zoom.us/hc/en-us/articles/115003279466-Preserve-Original-Sound
Step 3: Obtain the 9 or 10-digit Zoom meeting code / password from the school after scheduling.
This same code and password can be used for each lesson.
Step 4: Set up notebook or tablet.
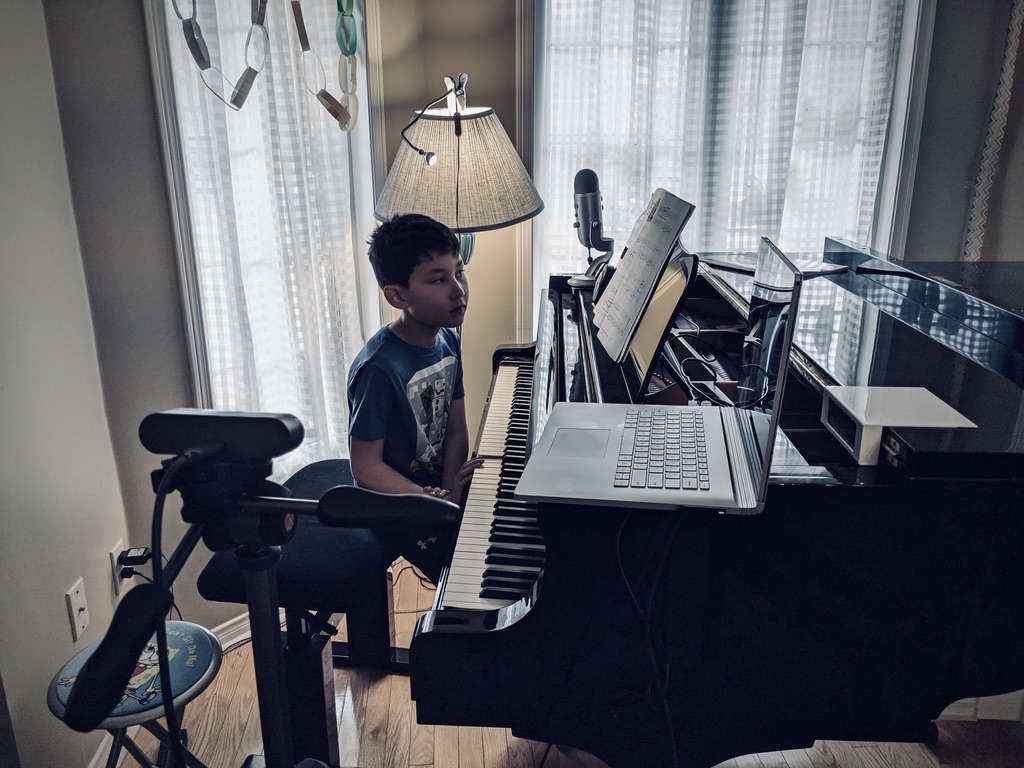
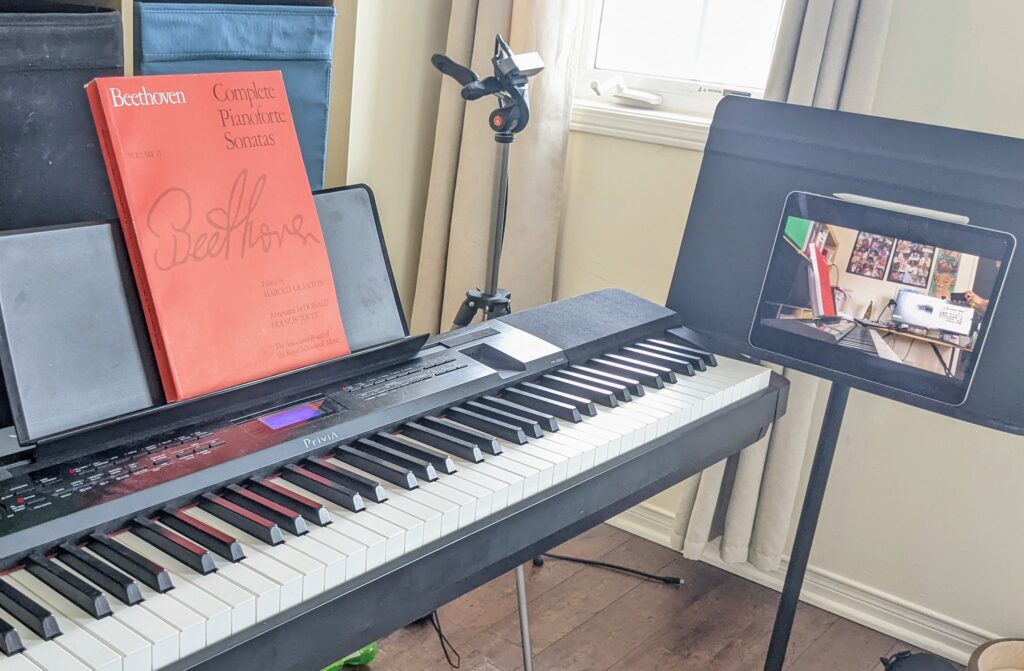
Set up your notebook or tablet so that the teacher can see you and your instrument (ie. keys or your violin), and also hear you/instrument. The ideal setup is to have a computer on the piano music stand (or grand piano – the music shelf’s right side), with webcam / DSLR on a tripod that views a side profile.
Step 5: Join the meeting.
At your designated lesson time, join the meeting by launching the application on your device and entering the 9-digit conference code. Turn on both the audio and video on your device (icons on the bottom left of the application).
- Parents with young learners: please be present during the entire session as you will be required to assist
- Materials for the lesson may be sent by email or during the screen session, as it is an interactive session
- Make sure when you join, click on the “Mute” and “Start Video” so that there are no red slashes across the icons. The arrow button beside the audio/video allows you to select which audio input you have.
Step 6: Enjoy the lesson!
Troubleshooting Poor Audio/Video Quality
- Ensure you are using the Zoom application, and not in the web browser. When you click the Zoom join link, it launches the web browser that helps you open the application. If your application does not open, launch it yourself and enter the 9 or 10-digits at the end of the URL (eg. https://www.zoom.us/j/555123888 – then your meeting pin is 555123888)
- Enable HD video on Zoom: https://support.zoom.us/hc/en-us/articles/115002595343-Improving-poor-video-quality
- Use your webcam, external microphone or wired headset (NOT gamer or teleconferencing headset due to the unidirectional microphone picking up your mouth only) instead of the computer mic. Computers that have great conference microphones include Macbook and Microsoft Surface or Lenovo ThinkPad series notebooks; however, you may need the extra help.
- Blue Snowball: https://www.canadacomputers.com/product_info.php?cPath=35_920_921&item_id=102818
- Logitech 720P or better webcams
- Microsoft 720P or better webcams
- Test your connection (try https://www.fast.com) and ensure you have at least 10 Mbps download and 2 Mbps upload
- Further troubleshooting from Zoom.us for audio quality: https://support.zoom.us/hc/en-us/sections/200319096-Audio